
Learning how to make candles at home is far less intimidating than most people imagine. With just a few simple supplies and a little patience, beginners can melt, pour, and shape wax into candles that look store-bought and smell incredible. The process becomes surprisingly satisfying once the wax starts to melt and the fragrance fills the room.
It’s the kind of hobby that quickly turns relaxing, creative, and even a little addictive. Before long, many people find themselves saving jars, testing scents, and experimenting with new styles simply because the experience is that enjoyable.
Why Candle Making Works Well for Beginners
Candle making fits beginners because it doesn’t require expensive equipment or complicated tools. Most of the process involves melting wax, centering a wick, adding fragrance, and pouring carefully. The customization options, scents, containers, wax types, and colors make the craft fun and personal.
Supplies Needed for Candle Making
Candle making becomes smooth when the materials are organized clearly. The supplies below reflect what was provided earlier, with a few expert additions for accuracy.
Wax Options
- Soy wax flakes
- Beeswax pellets
- Paraffin wax
- Coconut wax
- Palm or gel wax
Wicks
- Cotton wicks with metal bases
- ECO wicks
- Hemp wicks
- Wooden wicks
Choosing the correct wick size ensures an even melt pool and reduces soot.
Containers
- Mason jars
- Heat-safe glass jars
- Metal candle tins
- Recycled jam jars
Fragrance or Essential Oils
Most manufacturers recommend 1 ounce of fragrance oil per 1 pound of wax, though this varies by wax type.
Tools
- Double boiler
- Wick stickers or hot glue
- Thermometer
- Stirring utensil
- Clothespin or pencil for wick centering
- Heat-safe pouring pitcher or measuring cup
Comparison of Common Candle Waxes
The table below helps beginners choose the best wax for their project based on ease, scent performance, and burn behavior.
| Wax Type | Beginner Friendly | Scent Throw | Burn Cleanliness | Notes |
| Soy Wax | Yes | Moderate | Clean, slow burn | Ideal for natural candles |
| Beeswax | Yes | Light | Very clean | Has a natural honey aroma |
| Paraffin | Yes | Strong | Moderately clean | Great for bold fragrances |
| Coconut Wax | Moderate | Strong | Clean | Luxury appearance |
| Gel Wax | Moderate | Moderate | Clean | Best for decorative embeds |
Step-by-Step Guide on How to Make Candles
These steps reflect the process outlined earlier, expanded with expert technique and safety considerations.
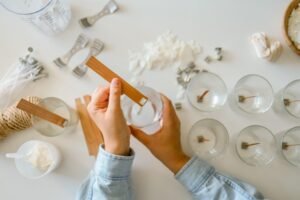
Prepare the Container and Wick
Start with a clean, completely dry container. Secure the wick to the center of the base using a wick sticker or a small dot of hot glue. Then rest a pencil or clothespin across the top of the jar to hold the wick upright and centered while you pour the wax.
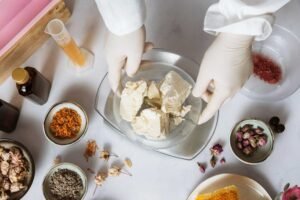
Melt the Wax
Set up a double boiler: water in the bottom pot, wax in the top pot. Heat gently over medium heat, stirring occasionally until fully melted. Most wax melts within 10–15 minutes.
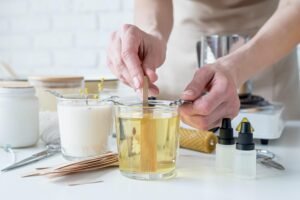
Add Fragrance at the Right Temperature
Fragrance binds best when the wax cools slightly. Remove from heat and let the wax reach about 125°F (52°C) before adding oils. Stir well to distribute the scent evenly.
Pour the Wax
Pour slowly into the container to avoid shifting the wick. Leave space at the top so the candle has a clean finish. If cracks form easily in your workspace, wrapping jars in a towel helps regulate cooling.
Let the Candle Set
Let the candle cool for one to two hours without moving the jar. Movement can cause uneven tops or sinkholes.
Trim the Wick
Once the candle is solid, trim the wick to ¼ inch for a steady flame and cleaner burn.
Cure for Better Scent
Although candles can be burned right away, letting soy candles cure for 24 hours to two weeks improves scent throw and burn quality.
Helpful Tips and Troubleshooting

Preventing Tunneling
Tunneling happens when the flame burns only the center. The first burn should melt the wax edge-to-edge, creating a full melt pool.
Avoiding Cracks
Rapid cooling causes cracks. Cooling slowly, especially in colder rooms, keeps the surface smooth.
Improving Scent Performance
Most waxes handle 6%–10% fragrance load, but the manufacturer’s maximum should always guide the recipe. Paraffin and coconut wax hold scent more effectively than beeswax.
Cleanup Made Simple
Wipe warm wax from utensils with paper towels. Never rinse melted wax down the sink—wax solidifies and clogs drains.
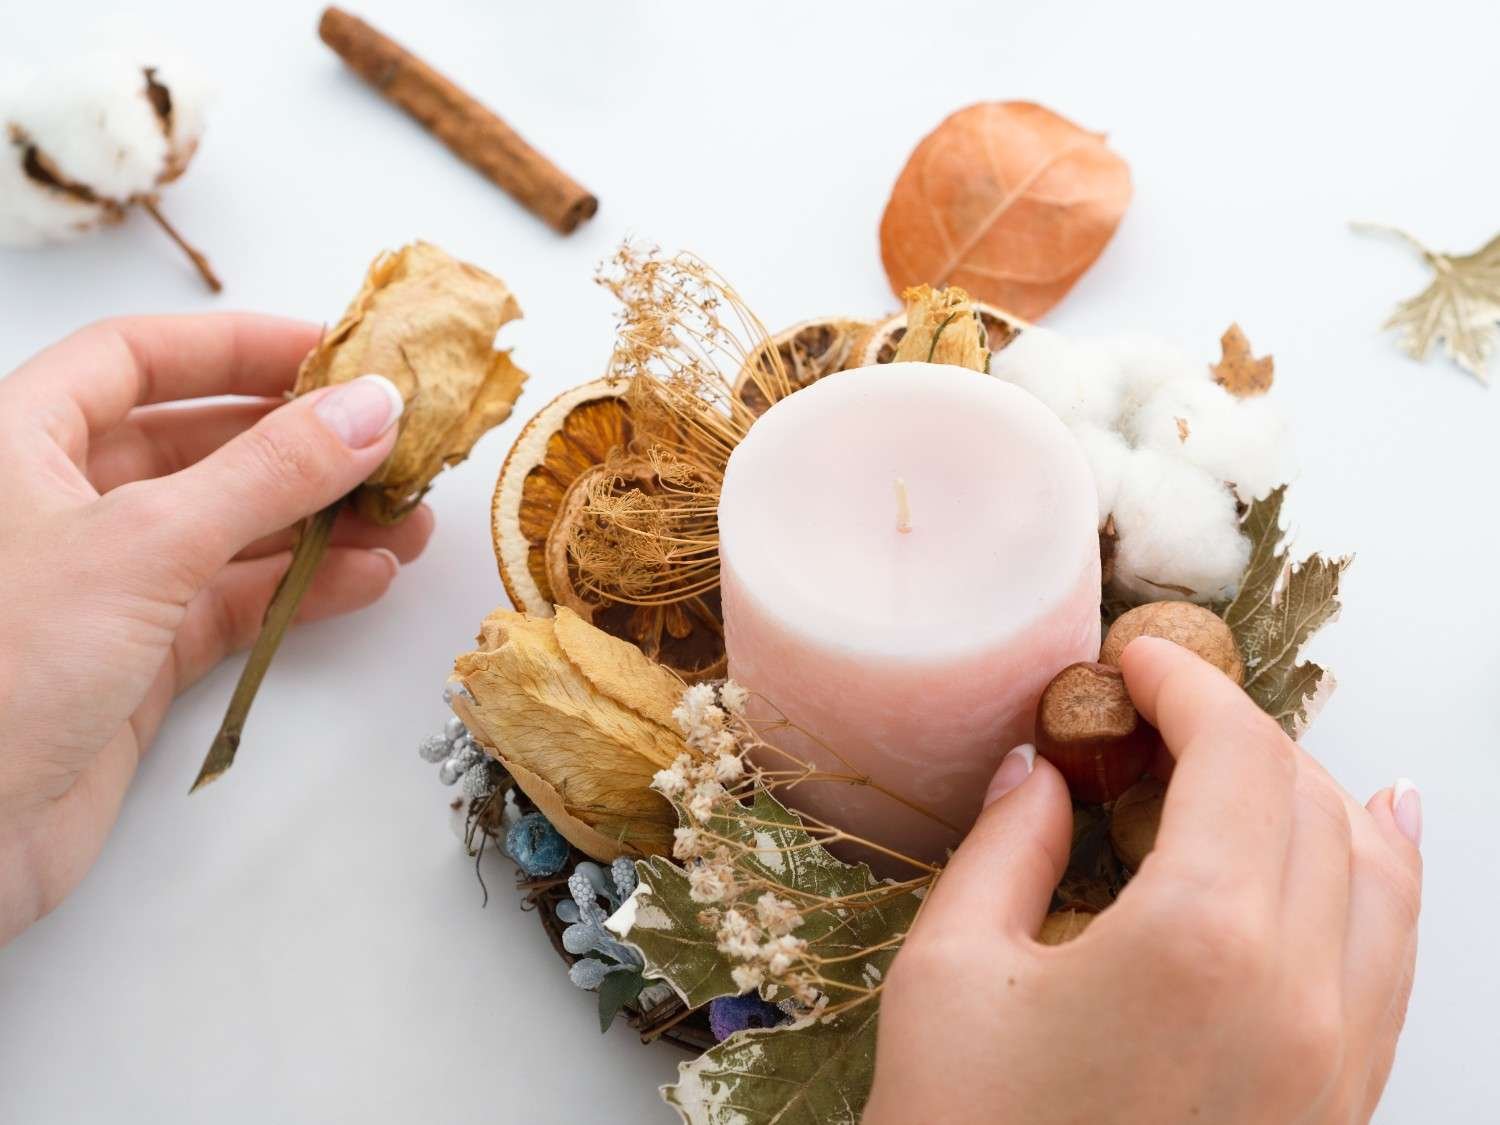
Creative Candle Variations
Dried Herb or Flower Candles
Dried botanicals add a decorative touch. They should be placed away from the wick to prevent scorching.
Wooden Wick Candles
Wooden wicks crackle softly and create a modern aesthetic. They work particularly well in soy or coconut wax blends.
Layered or Multi-Colored Candles
Allow the first layer to set partially before adding the next. This creates distinct color or scent layers.
Molded Candles
Silicone molds allow shapes such as pillars, spheres, or geometric pieces. These require harder wax blends like beeswax or paraffin.
Safety Considerations
- Never leave melting wax unattended.
- Keep children and pets away from the work area.
- Do not add water to hot wax.
- Use heat-resistant containers only.
- Work in a ventilated area when adding fragrance.
- Always test-burn candles before gifting or selling.
FAQs About How to Make Candles
1. What is the easiest wax for beginners?
Soy wax is reliable, melts at a gentle temperature, and is widely available.
2. How much fragrance oil should be added?
Most waxes support between 6% and 10%, but following the wax manufacturer’s guidance provides the best results.
3. Can essential oils be used instead of fragrance oils?
Yes, but they produce a milder scent and must be added at the correct temperature to avoid evaporation.
4. Why is my candle tunneling?
The wick may be too small, or the first burn was too short.
The first burn should last long enough to melt the wax out to the edges.
5. Do candles need curing?
Soy candles benefit from curing. Paraffin cures quickly, while beeswax requires minimal curing.
6. How do I choose the right wick size?
Use wick sizing charts provided by suppliers based on jar diameter, then test-burn to confirm performance.
Final Thoughts
Candle making is one of those rare crafts that looks complicated from the outside but feels surprisingly natural once the basics click. After learning how to melt the wax, center the wick, pour with control, and give the candle time to cure, the entire process opens up.
Suddenly, fragrances, colors, wax types, and container styles become a creative playground. With a little practice, it shifts from a simple DIY project into a calming routine, one that’s predictable, enjoyable, and endlessly customizable.